Hypic AI Background Remover: Full Step-by-Step Guide (2025)
If you have ever spent 20 minutes carefully tracing around a subject in a photo editor — only to end up with jagged edges and a messy cutout — you already know the frustration. Background removal used to require expensive desktop software or hours of manual work.
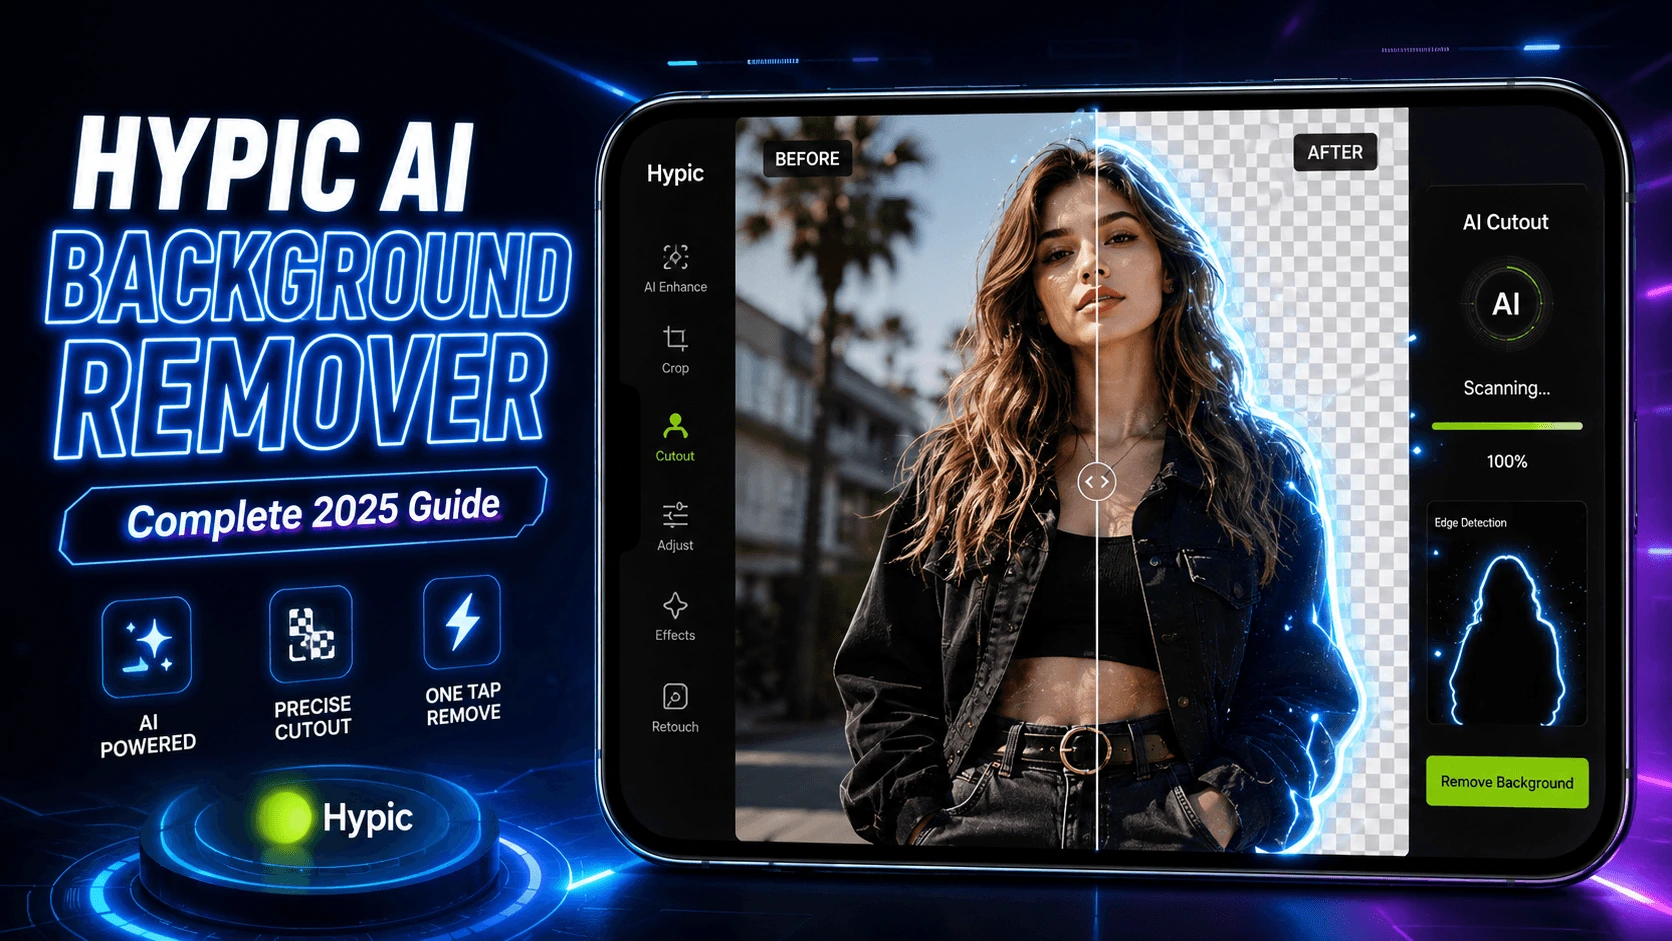
Hypic changes that completely. Its AI Cutout tool does in one tap what used to take professionals several minutes — and it handles complex subjects like hair, fur, and intricate clothing patterns with pixel-level precision.
In this guide, you will learn exactly how the Hypic AI background remover works, when to use each selection mode, how to replace backgrounds with AI-generated scenes, and how to get the cleanest results every time.
What Is the Hypic AI Cutout Tool?
Hypic’s background removal feature is called AI Cutout. It uses semantic segmentation — a type of computer vision — to identify the main subject in your photo and separate it from the background at the pixel level.
Unlike older apps that relied on simple color detection (which failed whenever the subject blended with the background), Hypic’s model understands the concept of “foreground subject” vs “background context.” This means it works reliably even on:
- Portraits with wind-blown or curly hair
- Photos where the subject and background share similar colors
- Group shots with multiple people
- Product photos on complex or textured surfaces
- Pets, animals, and objects with irregular outlines
4 Selection Modes Explained
Before jumping into the step-by-step process, it helps to understand the four cutout modes Hypic offers. Choosing the right mode for your image saves you refinement time later.
| Mode | Best For | Speed |
|---|---|---|
| Auto Select | Clear portraits, product shots, single subject photos | Fastest (1 tap) |
| Quick Select | Complex backgrounds, similar-color subjects | Fast (brush over subject) |
| Manual Select | When AI misidentifies areas, precise shapes | Slower (manual boundary) |
| Eraser | Cleaning up stray pixels after initial cutout | Used for refinement |
How to Remove a Background in Hypic: Step-by-Step
Open Hypic and Import Your Photo
Launch the Hypic app on your Android device. From the home screen, tap the “+” button or select “Edit Photo” to import the image from your gallery. For best results, use a well-lit photo where the subject is reasonably clear.
Navigate to the AI Cutout Tool
Once your photo is open, look for “Cutout” in the bottom toolbar. It appears under the “Tools” or “AI” section depending on your Hypic version. Tap it to enter the cutout editing interface.
Choose Auto Select for Most Photos
Tap Auto Select. Hypic’s AI will automatically detect and highlight the main subject in 2–4 seconds. For portraits and product shots, this single tap usually produces a clean, usable cutout without any further input.
Refine Edges If Needed
Pinch-zoom into the subject boundary — especially around hair, fingers, and accessories. If you notice stray background pixels or clipped subject areas, switch to Quick Select and lightly brush over the area. Use the Eraser at a small brush size to remove unwanted fragments.
Apply the Cutout
Tap “Apply” or the checkmark icon to confirm. Hypic removes the background and places your subject on a transparent canvas. You can now keep it transparent, replace with a solid color, upload a new background, or generate one using AI.
How to Replace the Background After Removal
Removing the background is only step one. Here are your three options for what comes next:
Option 1: Solid Color Background
After applying the cutout, tap “Background” and select a solid color from the palette. This is ideal for product photography, LinkedIn profile photos, or any image requiring a clean, distraction-free result.
Option 2: Upload Your Own Background
Tap Background → Album to choose any image from your phone gallery as the new background. Hypic automatically scales and positions it behind your subject.
Option 3: AI-Generated Background (Most Powerful)
After removing the background, tap “AI Background” and type a text prompt describing the scene you want — for example, “modern city skyline at golden hour” or “cozy cafe interior with warm lighting.”
Hypic’s AI generates a photorealistic background matched to your subject’s lighting and perspective. The result looks natural, not composited — this is the feature no other mobile editor currently matches.
Pro Tips for Cleaner Background Removal Results
🎯 Shoot with Contrast in Mind
If you know you will remove the background later, photograph your subject against a visually distinct background. Even slightly more contrast between subject and background gives the AI a cleaner starting point.
🔍 Refine at 100% Zoom
Most edge artifacts are only visible when zoomed in fully. Pinch-zoom to 100% and use a small eraser brush to clean stray pixels around ears, collars, and accessories before exporting.
💇 Auto Select Handles Hair Better
Counterintuitively, Auto Select often handles fine hair strands better than Quick Select. If Quick Select clips hair, try re-running Auto Select from scratch — the AI recalculates and may produce a cleaner result on the second pass.
📁 Export as PNG for Transparency
To preserve the transparent background for use in other design tools, always select PNG in the export options. Exporting as JPG automatically fills transparency with white — a common mistake that wastes the cutout.
🖼️ Use HD Export for Final Output
Before saving, check your export resolution settings. Go to export settings and select HD or 4K resolution. The default setting may produce compressed output that looks pixelated when used in designs or printed.
👥 Batch Edit Product Photos
If removing backgrounds from multiple similar images — product shots with the same background, for example — Hypic’s batch editing feature applies the same cutout settings across multiple photos at once, saving significant time.
Common Problems and How to Fix Them
AI Keeps Including Background in My Selection
Switch from Auto Select to Quick Select. Brush specifically over the subject area you want to keep, avoiding the background. The AI recalibrates its boundary based on your brushstrokes and produces a more accurate result.
Hair Edges Look Jagged or Clipped
After the initial Auto Select, switch to Quick Select mode and gently brush over the hair area with a medium brush size. The AI will expand the selection to include fine strands. Reduce brush size further for detailed work around individual hair sections.
Cutout Looks Good in App but Pixelated After Export
This is a resolution issue. Go to export settings and select HD or 4K before saving. Hypic Mod APK unlocks higher resolution exports that are restricted in the standard version.
Subject Has a Shadow — Should I Remove It?
It depends on context. For product photos on white backgrounds, removing the shadow gives the cleanest result. For portraits placed on a new background, keeping a subtle natural shadow adds realism. Use the Eraser tool to selectively remove shadow areas while keeping the subject fully intact.
Hypic vs Other Background Removers: How It Compares
The background removal market is crowded — Remove.bg, Canva, PicsArt, and dozens of other tools all offer automated cutouts. Here is how Hypic specifically compares across the factors that matter most:
| Feature | Hypic | Remove.bg | Canva | PicsArt |
|---|---|---|---|---|
| Processing Speed | 2–4 sec | 5–10 sec | 3–6 sec | 3–5 sec |
| Hair & Fine Detail Accuracy | ✔ Excellent | ✔ Good | ⚡ Average | ⚡ Average |
| AI Background Generation | ✔ Yes | ✘ No | ⚡ Limited | ✘ No |
| Works Fully On Mobile | ✔ Yes | ⚡ Web only | ✔ Yes | ✔ Yes |
| Full Editing Suite Included | ✔ Yes | ✘ No | ✔ Yes | ✔ Yes |
| Transparent PNG Export | ✔ Yes | ✔ Yes | ✔ Yes (Pro) | ✔ Yes |
The biggest differentiator is the combination of AI cutout with AI background generation inside a single mobile editing environment. No other app in this list lets you remove a background and replace it with a prompt-generated scene without switching apps or uploading files to a separate service.
Who Should Use Hypic’s Background Remover?
Content Creators
Place yourself or your products in any setting without a physical studio backdrop. Perfect for Instagram, TikTok, and YouTube thumbnails.
E-Commerce Sellers
Produce clean white-background product shots from casual photos taken at home or in a warehouse — no professional setup needed.
Students & Hobbyists
Create professional-looking profile pictures, creative composites, and design projects without learning complex desktop software.
Photographers
Quickly prototype composite shots on mobile before committing to a full Photoshop workflow. Great for client previews and mood boards.
Ready to Try Hypic AI Cutout?
Download Hypic Mod APK to access all premium features including HD export, AI background generation, and batch editing — completely unlocked.
Download Hypic Now →Frequently Asked Questions
Final Thoughts
Hypic’s AI background remover is not a gimmick feature — it is one of the most practical tools in the app for anyone who creates visual content regularly. It consistently produces clean, usable cutouts in situations where older tools struggle, handles fine details like hair better than most competitors, and integrates directly into a full mobile editing workflow.
The combination of Auto Select for speed, Manual Select for precision, and AI Background Generation for creative replacement makes it a genuinely complete background editing solution — all inside a single app on your phone.
If you have not explored the Cutout tool beyond the basic auto-removal, the tips in this guide — especially working at 100% zoom, re-running Auto Select for hair, and always exporting as PNG — will noticeably improve your results from the very next photo.
Have a specific photo type giving you trouble with background removal? Drop your question in the comments — this guide is updated regularly based on reader feedback.